
JUMP TO A SECTION
A roof replacement ends with a knock on the door, not a ceremony. The crew is loading the trailer, the dumpster is scheduled for pickup, and the invoice is sitting on the counter. That last hour, while everyone is still on site, is the single best window a homeowner has to catch anything worth catching, because it is far easier for a crew to walk back up a ladder they have already climbed than to schedule a return trip next week. This guide is the checklist we want every homeowner to run before that trailer pulls away, whether the roof was installed by us or by someone else.
Everything below is written to be done from the ground, from a window, or from the base of a ladder held by someone else. A finished asphalt roof is not a place for an untrained walker, and stepping on fresh shingles before they have fully sealed can damage them. If you want a genuine eyes-on, feet-on check of the roof itself, that is what a professional inspection is for, and ours is $0 with no obligation.
01 / THE SHORT ANSWERWhat a five minute walkthrough covers
You are checking five things: the shingle lines look straight from a distance, the flashing at every wall and chimney is visible and clean, the gutters and yard are clear of debris and stray fasteners, the ridge and vents look continuous and capped, and the paperwork for the permit and warranty is actually in your hand. None of that requires climbing anything. All of it is fair to ask a crew to walk you through before they leave, and a contractor who stands behind the work should welcome the question.
This is a from-the-ground quality check, not a substitute for a real inspection. If something below looks off, or if you are buying a home and want to know what condition an existing roof is in, our guide to the twelve signs of a bad installation goes deeper into what each defect means and whether it is cosmetic or worth a claim.
02 / FROM THE CURBLines and courses should read straight
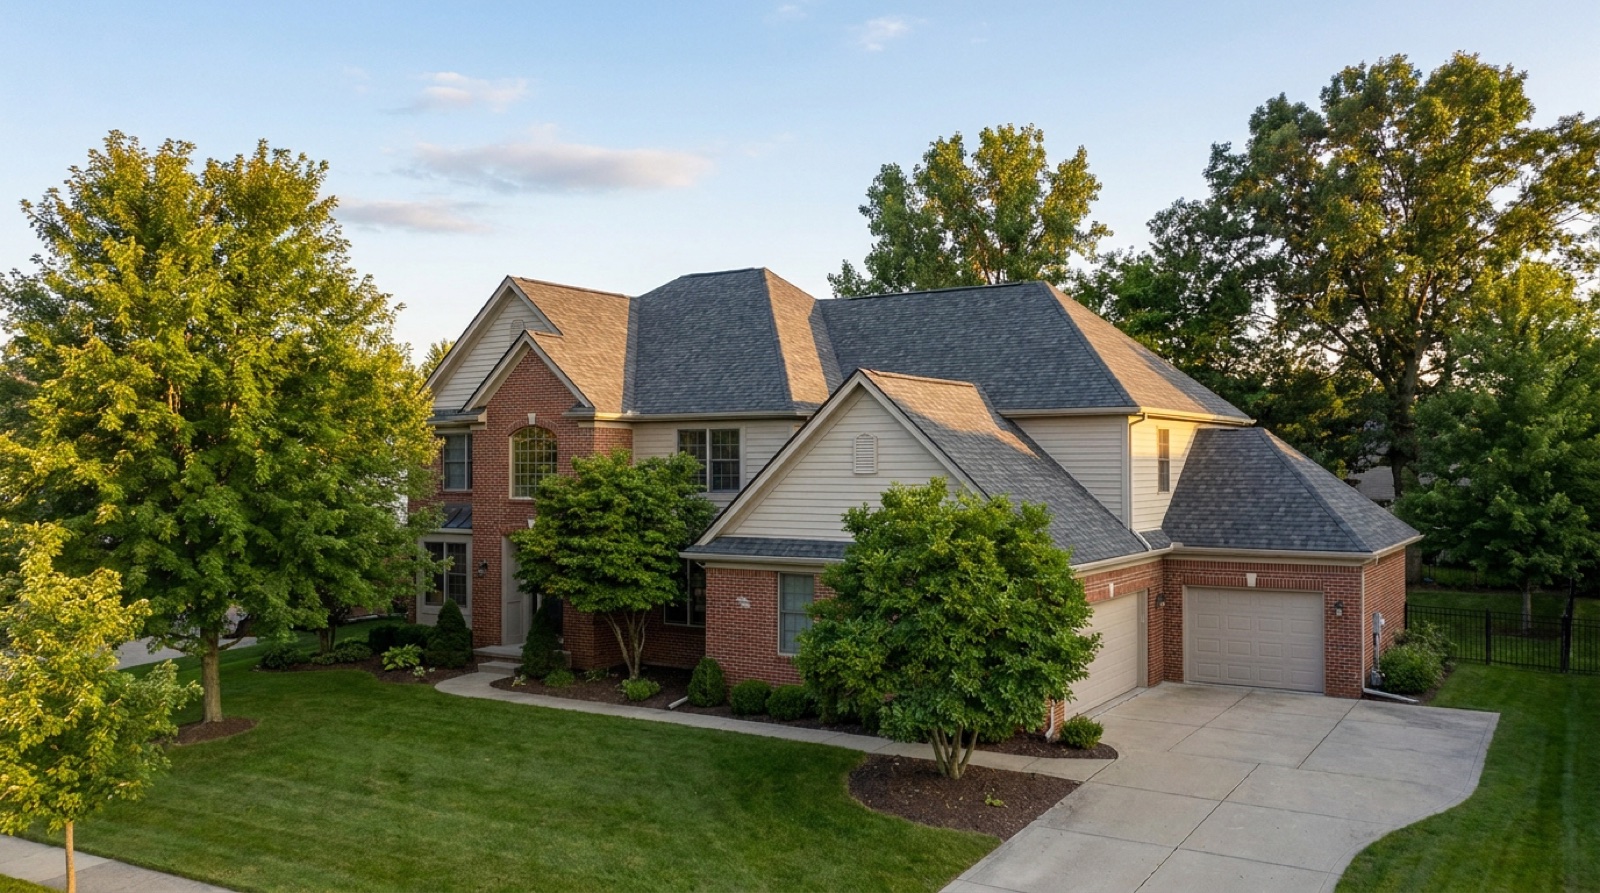
Walk across the street, or as far back in the driveway as you can get, and look at the roof the way a passerby would. Shingle courses should run in straight, even rows all the way to the edges. A slight waver here and there can happen on an older, uneven deck, but a course that visibly zig-zags, or one row that is noticeably out of step with the ones above and below it, points to a rushed layout. Check the ridge line itself: it should run straight and level along the peak, not wavy or humped.
Ridge cap and hip lines
Look at where the ridge cap shingles run along the top and down any hips. They should be evenly spaced, uniformly overlapped, and free of visible gaps or cracked pieces. A good crew uses purpose-made ridge cap shingles, not cut pieces of field shingles nailed on as a shortcut, which weather and crack faster than they should.
Color and pattern consistency
Modern architectural shingles are manufactured with a randomized pattern so the finished roof does not look like a repeating grid. From the street, the surface should read as a natural blend, not obvious blocks of lighter or darker shingle bundled together in one area. Bundle-to-bundle color variation is normal within a shade or two; a hard visible seam between two clearly different batches is worth a question.
Roofs can look different depending on the sun and your angle to the slope, so walk to two or three spots on the property line before drawing a conclusion. What reads as a wave in harsh side light is sometimes just a shadow, and what looks fine head-on can show a soft spot from an angle.
03 / THE EDGESFlashing at every wall, chimney, and valley
Flashing is the metal that seals the roof where it meets something vertical: a sidewall, a chimney, a dormer, a skylight curb. It is also where the large majority of roof leaks eventually start, so it deserves a slow look even from the ground. Walk the perimeter of the house and look up at every place the roofline meets a wall or a chimney. You should see clean, straight metal step flashing tucked under the siding or counterflashing set into the brick, not a bead of caulk doing the whole job by itself.
Valleys and drip edge
Where two roof slopes meet at an inward angle, called a valley, the shingles should lay flat and tight with no visible gap or exposed metal running the wrong direction. Along the outer edges of the roof, a thin metal drip edge should be visible under the shingle overhang at the eaves and rakes; its job is to kick water away from the fascia board instead of letting it wick back underneath. A missing drip edge is a common installation shortcut that is invisible from a quick glance but expensive over time.
New pipe boots and roof penetrations
Every pipe, vent, and roof-mounted fixture gets a new rubber or plastic boot as part of a full replacement. From the ground or a window on a second story, you can often see whether the boots look new, uniform, and properly seated around each pipe rather than patched with sealant. If you cannot get an angle to see them clearly, it is entirely reasonable to ask the crew lead to walk you through photos of every boot and penetration before they pack up; a contractor who documents the job as they go will already have them.
04 / THE CLEANUPGutters, lawn, and the magnet sweep
Cleanup is part of the job, not an afterthought, and it is the easiest thing on this list to verify yourself with no ladder at all.
- Gutters: look inside from a ground-level ladder foot or ask the crew to show you. Old shingle debris, granules, and nail clippings should not be sitting in the trough or clogging a downspout.
- Lawn and beds: walk the yard, especially flower beds and shrubs directly under the eaves, for shingle scraps, wrapper strips, and packaging.
- Driveway and walkways: a magnet sweep, run with a rolling magnetic tool, should have been done across the driveway, the walkway, and the grass near the house. Ask which areas were swept and how many passes were made, and consider walking the driveway edges and any cracks yourself, since stray roofing nails are the classic flat-tire and bare-foot hazard after a reroof.
- Dumpster area: check the lawn under and around where the dumpster sat for compression marks, leaked debris, or nails that missed the bin.
05 / THE DETAILSRidge vent, starter course, and intake
A few details matter for how the roof performs over the next twenty years, and most are visible without climbing anything.
Continuous ridge vent
If the roof design uses a ridge vent, it should run as one continuous capped line along the peak, not a series of gaps and starts. From the ground, a ridge vent reads as a slightly raised strip under the ridge cap shingles running the full length of the roof's high point.
Starter course at the eaves and rakes
A proper starter course is a strip of shingles installed upside down under the very first row, so the seal strip lines up with the tabs above it and locks the first course down against wind. You cannot see the starter course itself once the roof is finished, but its absence shows up later as a lifted first row along the eave, so this is a fair question to ask the crew directly rather than something to inspect visually.
Soffit and intake ventilation
Look up at the soffit, the underside overhang at the eaves, from the ground. Vented soffit panels should have open, unobstructed slots, not painted shut or blocked by insulation stuffed against them from inside the attic. Intake air at the soffit and exhaust air at the ridge work as a pair; if one side is blocked, the whole ventilation system stops doing its job, and a Michigan attic that cannot breathe properly is more prone to ice damming and shortened shingle life.
Nothing above requires a firm diagnosis on your part. If any of it looks wrong, or you just want a second, trained set of eyes before you sign off, a free second-opinion inspection covers the shingles, flashing, ventilation, and the attic side of the deck, with photos of everything found. Start one through the estimator or call direct.
06 / THE PAPERWORKWhat should be in your hand before the crew leaves
A finished roof is not just shingles; it is also a small stack of paperwork that protects you for years afterward, and it is far easier to collect while the crew and the paperwork trail are both fresh.
Most Macomb County municipalities require a permit for a reroof, and that permit is not truly closed until the local building department signs off on a final inspection. Ask your contractor whether that final municipal inspection has been scheduled or completed, and get it in writing if it has not happened yet. Separately, ask whether your shingle manufacturer's warranty requires registration on your part or the contractor's, and get confirmation either way rather than assuming it happened automatically.
If you are making a final payment, it is reasonable to ask for a lien waiver in exchange, which is the contractor's written acknowledgment that your payment settles their claim to the work, protecting you from a supplier or subcontractor dispute clouding your title later. Keep the signed contract, the permit, the final invoice, and any material receipts together in one folder or a labeled email thread. That file is exactly what you or a future buyer will want on hand if a warranty question ever comes up.
Timing matters on the replacement side of this too. Our roof replacement process guide walks the whole job from the first walkthrough through the final cleanup, so you know what should have happened before this final checklist even starts.
A contractor who is confident in the work will walk the perimeter with you and answer every one of these questions without getting defensive. Hesitation on a simple walkthrough is itself useful information.
One more scenario worth flagging here, even briefly: if a leak shows up weeks or months after a new roof goes in, that is a different conversation than this walkthrough, with its own rights and steps under a workmanship warranty. Our new roof leaking guide covers what to document and how to raise it with the installing contractor.
- Do the walkthrough from the ground, a window, or a held ladder; never climb a finished roof yourself.
- Check for straight courses, a level ridge, clean flashing at every wall and chimney, and a visible drip edge.
- Walk the gutters, lawn, and driveway for debris and stray nails; ask what magnet sweep was done.
- Confirm the ridge vent runs continuous and soffit vents are unobstructed.
- Leave with the permit status, warranty registration, lien waiver, and material receipts in hand.
Questions we hear most
It is best not to. A finished asphalt shingle roof is not a safe surface for an untrained walker, and stepping on fresh shingles can damage them before they fully seal. Everything in this checklist can be checked from the ground, a window, or the base of a ladder held by someone else.
You should have your signed contract, the permit and confirmation of its final municipal sign-off, proof of manufacturer warranty registration, the final invoice matching the contract scope, and a lien waiver in exchange for final payment. Keep material receipts with the same file in case a warranty question comes up later.
Point it out to the crew lead before they leave if at all possible, since a return trip while the ladder is still on site is far simpler to arrange than a callback next week. If you want an independent second opinion, a professional inspection covering the shingles, flashing, ventilation, and attic side of the deck is $0 with no obligation.
- Manufacturer technical and warranty literature for the major asphalt shingle lines: GAF (gaf.com), Owens Corning (owenscorning.com), and CertainTeed (certainteed.com).
- Your city or township building department: reroofing permit requirements and fee schedules are set locally in Macomb County; see the county directory of communities. macombgov.org