
JUMP TO A SECTION
A bad roof repair rarely announces itself. From the driveway it can look fine, sometimes even tidy, and the failure only shows up months later as a stain on the ceiling or a soft spot underfoot in the attic. This guide is a walk through the shortcuts we see most often on Macomb County roofs, whether we are called out to fix a leak that a previous repair was supposed to have solved, or a buyer's inspector asks us to look at a roof before closing. Each section shows what was skipped and what the correct version of that same repair looks like, so you can read a roof yourself before you call anyone.
01 / WHY IT HAPPENSWhy shortcut repairs are so common
Most bad repairs are not the work of a dishonest roofer. They are the work of someone pricing a callback or a small job too low to justify doing it right, or a homeowner's own patch that bought a season but was never meant to last. A proper flashing rebuild or a woven shingle course takes real time on the roof. Smearing sealant over the same spot takes ten minutes. Both look identical from the ground on the day the work is finished, which is exactly why this matters: the roof that looks done and the roof that is actually fixed are not the same roof, and you usually cannot tell which one you have until the next rain.
The pattern to watch for is any repair that treats the surface symptom instead of the water's actual path. Water that shows up on a ceiling entered the roof somewhere else, often several feet away, and a repair that does not trace that path is a repair that is guessing.
| SHORTCUT VERSION | WHAT IT SKIPS | CORRECT VERSION |
|---|---|---|
| Tar smeared over flashing | Reshaping or replacing the metal | Step flashing, counterflashing, or a valley pan formed and lapped correctly |
| Patch butted against the field | Weaving the new course into the old | Shingles removed back far enough to lap under and over the surrounding courses |
| Nail heads left on the surface | Lapping the course above the fasteners | Every nail covered by the shingle above it, none exposed to weather |
| Patch placed at the ceiling stain | Tracing water back to the true entry point | Attic-side inspection to find where the water actually entered uphill |
Keep that table in mind as a checklist while you walk a roof, whether it is one you already own or one you are about to buy. Each row is the same shortcut appearing in a different place on the roof, and each one has the same root cause: treating the visible symptom as the whole problem instead of asking what the shortcut was standing in for.
02 / THE TAR TELLTar and caulk smeared where flashing should be
This is the single most common shortcut we find. Flashing is the formed metal that seals a roof against a chimney, a wall, a valley, or a vent pipe, and it is supposed to shed water by shape and overlap, not by adhesive. When flashing rusts through, pulls loose, or was never installed correctly, the fast fix is a thick bead or a full coat of roofing tar or asphalt cement smeared over the joint instead of replacing or reforming the metal.
A dull black, gloppy coating anywhere flashing meets a chimney, wall, skylight, or vent is close to a guaranteed sign of a tar patch rather than real flashing work. Fresh tar is shiny and pliable, but it always cracks and separates from sun exposure and Michigan's freeze thaw cycles within one to a few seasons, right when you least expect a leak.
The correct repair replaces or reshapes the actual metal, step flashing woven course by course at a wall, counterflashing reset into a chimney's mortar joint, or a formed valley pan with proper laps, and uses sealant only as a secondary detail, a small dab at a fastener or seam edge, never as the primary water barrier covering an entire joint. Our roof repair page covers what a properly rebuilt flashing detail involves and what it typically runs.
Roof tar as a whole-roof strategy
Occasionally we find an entire section of a roof, not just one flashing joint, coated in tar as a stopgap before a sale or after years of deferred maintenance. That is a repair strategy that has effectively given up on fixing the roof and is instead trying to buy a little more time. If you see this on a roof you are buying or already own, treat it as a signal to get a full inspection rather than a signal that the roof was recently cared for. Our guide on tar patch roofs goes deeper on what that coating actually means for what is left underneath.
Why tar looks convincing at first
Part of what makes a tar patch so easy to miss is timing. Applied on a dry, warm day, it bonds well enough to pass a casual look and even holds through a light rain or two. The failure shows up gradually as ultraviolet light and temperature swings dry the coating out from the surface down, first as fine cracking, then as separation at the edges where the tar was never truly bonded to the metal underneath. By the time it is visibly failing, whoever applied it is often long gone, and the homeowner is left thinking the roof was fine until suddenly it was not.
03 / THE COURSE PROBLEMShingles patched in without weaving the courses
Shingles are laid in overlapping courses so that water always runs down and over the course below it, never sideways into a seam or under a raised edge. A correct repair to a damaged section removes shingles back far enough to tie the new course into the existing pattern, weaving the replacement in so the overlap direction and the exposure line match the surrounding roof exactly.
The mismatched patch
A shortcut repair instead slides new shingles into just the damaged spot, butting them against the surrounding shingles rather than weaving under and over the correct courses. You can often see this from the ground as a rectangle of slightly different-colored or differently aged shingles with a visible seam around it, sometimes fastened with exposed nails right through the patch rather than tucked under the course above. Color mismatch alone is not a red flag, since exact color matching on aged shingles is rarely possible even in an honest repair. The tell is the seam and the exposure line not lining up with the field around it.
Why the seam leaks eventually
Where a patch butts against the field instead of weaving into it, wind can catch the leading edge and wind-driven rain can work sideways into the gap in a way a properly overlapped course never allows. It often takes a season or two of Michigan wind before that seam opens enough to leak, which is exactly why the shortcut version so often passes a quick visual check at handoff.
04 / THE FASTENER TELLExposed nail heads left uncovered
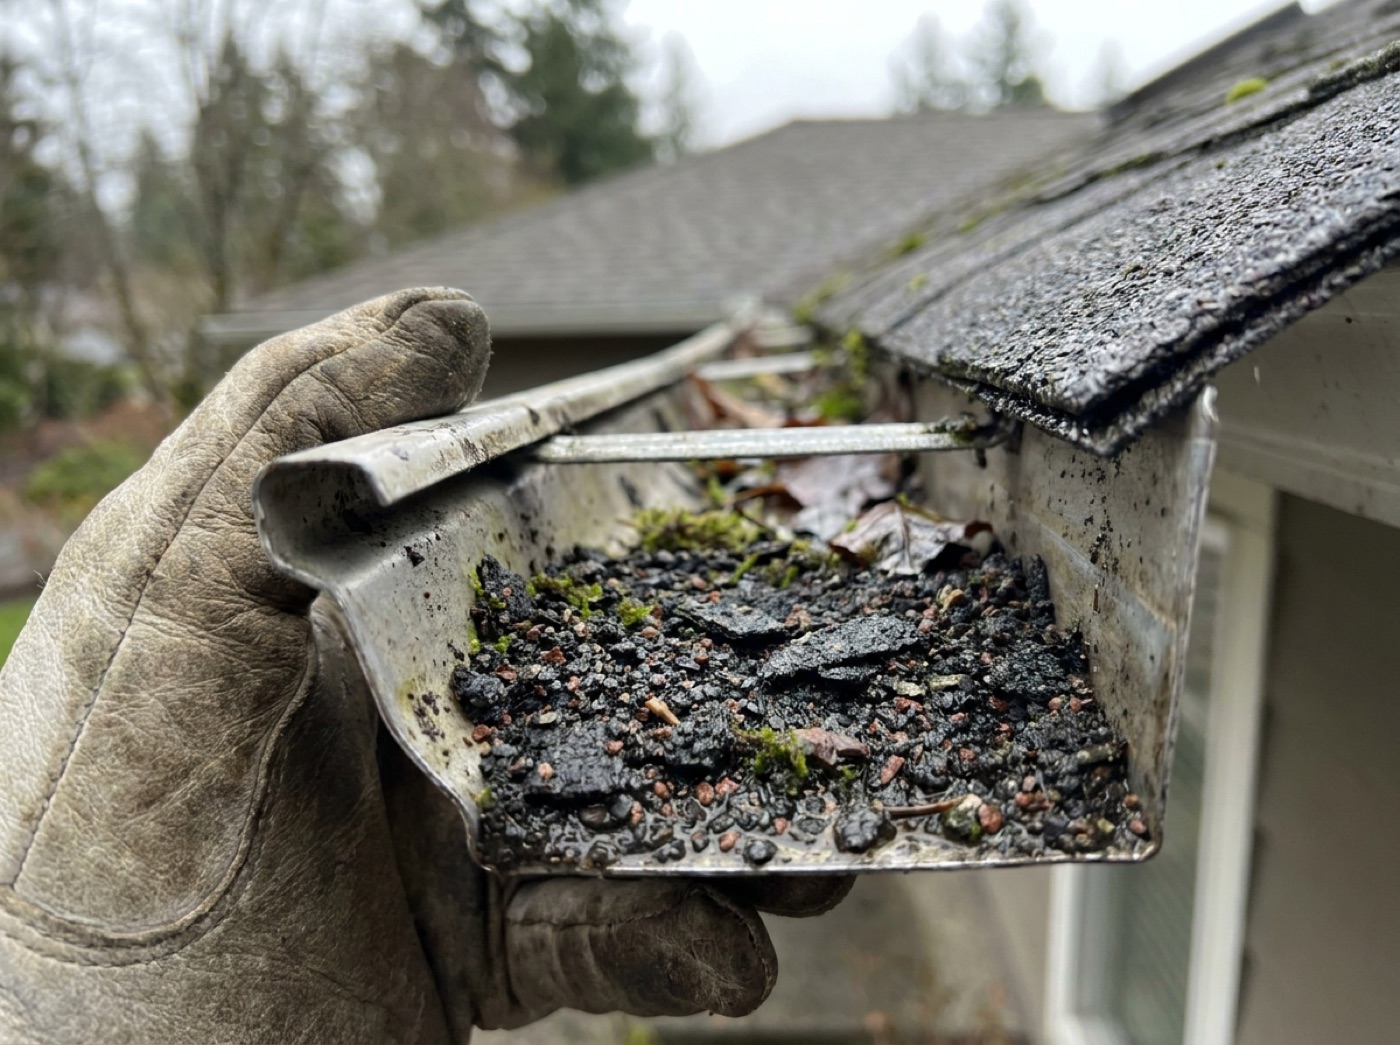
Every nail on a correctly shingled roof ends up covered by the course above it, hidden from weather entirely. A visible row of nail heads sitting exposed on the shingle surface, whether shiny new steel or already rusting, means a course was not lapped correctly over the fasteners below it.
Exposed nails are a slow leak generator rather than an immediate one. Each nail hole is a tiny puncture through the shingle's waterproofing layer, and once the galvanizing wears through or the nail head lifts even slightly with age and thermal movement, water follows the shaft straight into the deck. A repair crew sometimes covers this with a dab of sealant over each nail head, which is better than nothing but is still a maintenance item rather than a fix, since that sealant dries and cracks in the same one to a few seasons the tar joints do.
From the ground with binoculars, or safely from a ladder at the eave, scan repaired areas for small round bumps or bare metal dots in a line. If you can see the nail, it should not be visible; the correct fix is re-lapping the course above it, not sealing over the head.
05 / THE PATH PROBLEMPatches that ignore where the water actually travels
This is the shortcut that fools homeowners most often, because the patch is placed exactly where the ceiling stain or the interior leak shows up, and it looks logical. The problem is that water almost never drips straight down from where it enters the roof. It runs along the underside of the deck or down a rafter, sometimes for several feet, before it finds a gap in the insulation or a seam in the ceiling drywall to show through.
A repair that patches only the spot directly above the interior stain, without tracing the path back to the true entry point uphill, very often leaves the actual hole, seam, or flashing failure untouched. The leak can even appear to stop for a while, especially in light rain, only to return in the next heavy wind-driven storm that pushes water further along the same path.
A repair should come with a reason it will hold, not just a price. If a roofer cannot tell you where the water got in, they cannot tell you the leak is fixed.
The correct process checks the attic side of the deck as well as the roof surface, following water staining, dark trails on the underlayment, or rafter discoloration back uphill to the actual point of entry, which is frequently a chimney, valley, or vent flashing rather than the open field of shingles above the ceiling stain. If you are buying a home with an unfamiliar roof, or you have had the same ceiling spot patched more than once, this is the pattern to ask your contractor to specifically address. Homeowners weighing a leak that keeps returning after repair attempts should also see our guide on what it means when a roof keeps leaking after work has already been done.
06 / NEXT STEPSWhat to do with what you find
Finding one of these signs does not automatically mean the roof needs a full replacement. Most of what is described above is fixable as a proper repair once it is diagnosed correctly, and repairs in Macomb County typically run $350 to $3,200, with larger or more complex work able to run higher. The real cost of a shortcut repair is not the original patch, it is the interior damage, soaked insulation, and rotted decking that keep accumulating underneath it while the surface looks fine.
If you are a homebuyer reading an unfamiliar roof, treat any of these signs as a reason to get an independent inspection before closing rather than a reason to walk away outright. If you are an owner auditing an old repair, the same logic applies: know what you actually have before the next storm decides for you.
For advice on vetting whoever does the follow-up work, our guide on how to hire a roof repair contractor covers the questions worth asking so you do not end up with a second shortcut on top of the first one.
Questions worth asking before you sign anything
A contractor who is planning to do the work correctly will not mind being asked directly what a repair involves. Ask what they found when they checked the attic side of the deck, not just the roof surface. Ask whether the fix involves replacing or reshaping flashing metal versus sealing over it. Ask whether shingle courses will be woven into the surrounding field or simply butted against it. None of these are unusual or difficult questions, and a contractor who cannot answer them plainly, or who answers only in terms of sealant and caulk, is telling you something about the kind of repair you are about to get.
Our inspection is $0 with no obligation, and for a roof with a history of patch jobs we specifically check the attic side of the deck as well as the surface, photograph what we find, and tell you honestly whether it is a repair or something bigger. You can start from the instant estimator or browse ranges on the cost calculator.
- Tar or caulk smeared over an entire flashing joint replaces metal work with adhesive, and it typically fails within one to a few seasons.
- A shingle patch that butts against the field instead of weaving into the courses leaves a seam wind can open over time.
- Exposed nail heads on the shingle surface mean a course was not lapped correctly, and sealant over the head is maintenance, not a fix.
- A patch placed only where the ceiling stain shows often misses the real entry point, since water travels sideways along the deck before it shows inside.
- Most of these are fixable as a proper repair, typically $350 to $3,200, once the actual water path is traced and diagnosed correctly.
Questions we hear most
Look for flashing that is shaped metal rather than a thick coat of tar or caulk, shingle patches that weave into the surrounding courses instead of butting against them, and no exposed nail heads on the surface. A correct repair also traces the leak to its true entry point rather than patching only where the interior stain appears.
As a small secondary detail, a dab at a fastener or a seam edge, sealant is normal and fine. As the primary fix covering an entire flashing joint or a full section of roof, it is a shortcut that typically cracks and fails within one to a few Michigan freeze thaw seasons. If you see this covering a whole joint, treat it as a sign the underlying metal work still needs to be done.
Get an independent inspection before closing rather than assuming the worst. Most shortcut repairs described here are fixable as a proper repair, often $350 to $3,200, once the real problem is diagnosed. Our free, no-obligation inspection checks the attic side of the deck as well as the surface and gives you honest photos to negotiate with or plan around.
- FEMA, disaster declaration DR-4757-MI, Michigan severe storms of August 2023 (Macomb County designated). fema.gov/disaster/4757
- Manufacturer technical and warranty literature for the major asphalt shingle lines: GAF (gaf.com), Owens Corning (owenscorning.com), and CertainTeed (certainteed.com).
- Michigan Residential Code, 2015 edition, adopted with Michigan amendments by the LARA Bureau of Construction Codes, in effect since February 8, 2016. michigan.gov/lara: code books
- Building Science Corporation, published research and information sheets on moisture movement, air leakage, and roof assemblies in cold climates. buildingscience.com