
JUMP TO A SECTION
Every new-roof sales conversation lingers on shingle color and warranty years, because that is the part a homeowner can picture. The part that actually keeps water out lives underneath and around the shingles: the flashing. It is a set of purpose-built metal pieces at every wall, chimney, valley, and edge, and on a full reroof, every one of them is either installed fresh or quietly carried over from the old roof. That second option is the single most common corner we see cut on a Macomb County reroof, and it is the reason a brand-new roof can develop a leak in its first winter. This guide walks through the flashing details that belong on any replacement job, what happens when one is skipped or reused, and how to hold a bidder to it before a shingle ever goes down.
01 / THE SHORT ANSWERNew flashing is part of a new roof, not an upsell
A full roof replacement should include new step flashing, new counter-flashing, new valley metal, new apron and headwall flashing, new kick-out flashing, and new vent boots, every time. None of it is a specialty add-on. It is baked into what "replacement" means, the same way new underlayment and new starter strips are. The trouble is that flashing is expensive and slow to do right, and it is also the easiest thing on a job to quietly reuse without a homeowner ever noticing, since most of it disappears under the new shingle field within a day.
Homeowners rarely ask about flashing because nobody explains what it is before the quote arrives. This is the checklist we wish every reroof quote came with, so you can raise it with any bidder, not only us.
The pattern behind almost every new-roof leak we get called back to inspect is the same: a piece of flashing that should have been replaced was instead pried up, straightened out, and slid back under the new shingles to save an hour of labor and the cost of new metal. It often holds through one dry season. Then a hard freeze, a wind-driven rain, or simple metal fatigue finds the crease where it was bent twice, and water gets in behind a roof that is otherwise only months old. The sections below cover each flashing detail on its own, what a correct new installation looks like, and the leak pattern that shows up when it is not.
02 / SIDEWALLSStep flashing: new metal, one piece per shingle course
Wherever a roof plane runs into a vertical wall, a dormer, or a second story, step flashing does the work: a small L-shaped piece of metal woven into every single shingle course, redirecting water running down the wall back onto the roof surface instead of letting it reach a nail line. On a proper reroof, the old step flashing comes out with the old shingles and a full new run goes in, piece by piece, as the new courses go up.
The corner that gets cut
Pulling and reusing old step flashing is fast, because the pieces are already shaped and already in position; a crew in a hurry can lift the shingle course, leave the metal alone, and shingle right over it. The problem is that step flashing this old has usually already thinned from years of freeze-thaw cycling, and reused pieces are frequently bent out of their original crease during tear-off, opening a hairline gap that a fresh piece would not have. A reroof that reuses step flashing is, in the part of the roof most likely to leak at a wall, running old metal under a warranty meant for new work.
What correct new work looks like: individual pieces, one per course, each roughly six inches by seven inches and bent to the roof pitch, installed as the shingles go up rather than slid in after the fact. If your quote does not separately price this labor, ask how the crew plans to handle every sidewall on the house.
03 / CHIMNEYSCounter-flashing: reset into fresh mortar, not caulked over
Counter-flashing is the partner piece to step flashing at a chimney: a strip of metal that tucks into a cut reglet in the mortar joint and laps down over the step flashing below, so water never has a path between the two systems. On an older Macomb County chimney, the mortar has usually moved with decades of freeze-thaw, and the reglet that once gripped the counter-flashing tight has often opened up.
The corner that gets cut
The fast version of this repair is caulking the old counter-flashing back against the loosened mortar joint instead of cutting a fresh reglet and setting new metal into it. Caulk over a moving joint looks fine for a season, then dries, cracks, and traps moisture against the brick, which is worse than leaving the gap alone. On a full replacement, cutting a new reglet and installing new counter-flashing is standard practice, not an upsell, and it is worth asking a bidder to state it as a line item rather than assuming it is included.
If the mortar itself is crumbling badly enough that a clean reglet cannot be cut, that is a masonry repair, not a roofing one, and an honest contractor will say so rather than caulking around the problem to finish the job on schedule.
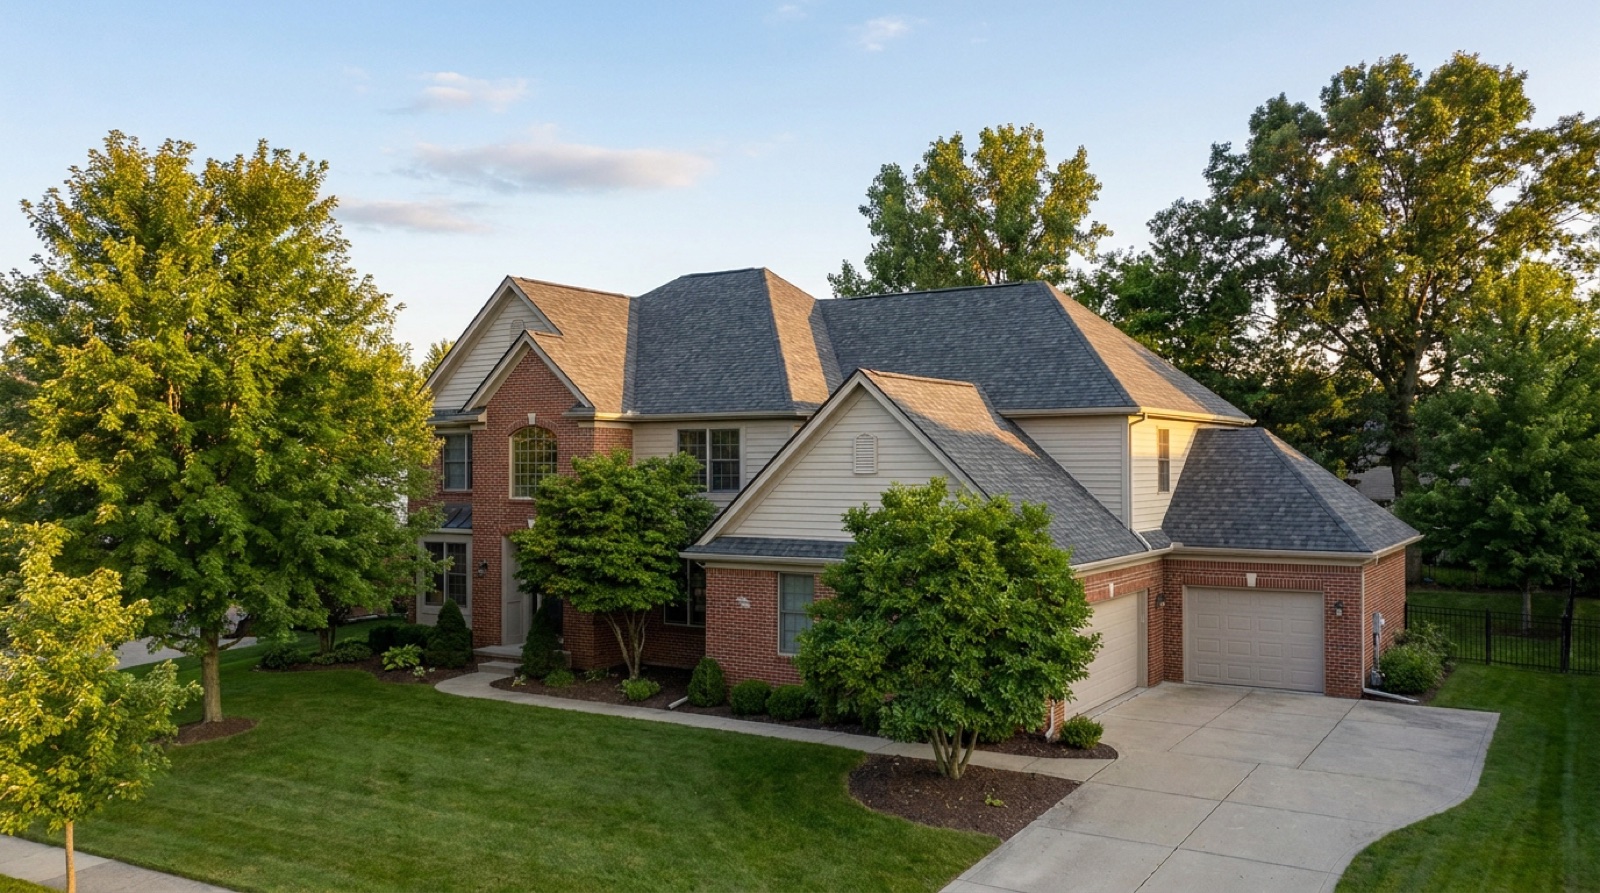
04 / VALLEYSValley metal: the highest-volume water path on the roof
A valley is the inward angle where two roof planes meet, and it carries more concentrated water than any other part of the roof, since runoff from both slopes funnels through the same channel. That makes valley metal one of the highest-consequence details on a replacement, and it should always be installed new and full length, whether the design is an open metal valley or a closed, woven valley over new metal underneath.
The corner that gets cut
Because valley metal runs in long continuous strips, a crew short on material or time can be tempted to reuse a section that still looks straight, splicing new metal only where the old piece is visibly damaged. A spliced valley has a seam that was never designed into the original run, and it is exactly the kind of detail that looks acceptable from the ground and fails during the next heavy storm, when the valley is carrying the most water it will see all year. Our open versus closed valley guide covers how each style sheds water and which tends to hold up better in snow country, but the underlying rule is the same either way: new metal, full length, no splices.
A spliced valley can look identical to a proper one from the ground once shingles are trimmed back on either side. The only way to confirm full-length new metal is to ask for it in writing and, if you can, watch tear-off yourself.
05 / EDGESApron and kick-out flashing: small pieces, easy to skip entirely
Apron flashing, sometimes called headwall flashing, sits where the top edge of a roof plane meets the uphill side of a wall, most often where a garage, porch, or single-story addition dies into a taller section of the house. It is usually one continuous L-shaped strip and should be replaced in full on any reroof, since it takes the same freeze-thaw and thermal-movement stress as every other flashing detail on the house.
Kick-out flashing is the smallest piece on this list and the one most likely to be missing altogether rather than simply reused. It belongs at the bottom of any sidewall run, wherever a roof plane meets a wall above a lower roof section or a gutter, and its one job is kicking runoff outward into the gutter instead of letting years of water track straight down behind the siding at that exact corner. Many older Macomb County homes never had one installed in the first place, because the detail was inconsistently required for decades.
The corner that gets cut
Because a missing kick-out was never there to begin with, a crew focused only on matching the old roof can reroof right over the same gap rather than adding the piece the original build skipped. A new roof is the cheapest moment this detail will ever be to add, since the labor to open that corner is already happening during tear-off. If your quote does not mention kick-out flashing at all, ask whether the crew is planning to add it where the design calls for one, not only where the old roof already had it.
06 / THE PATTERNWhy reused flashing is the corner that causes callback leaks
Every flashing detail above shares the same failure story: metal that already survived one full Michigan freeze-thaw cycle gets bent a second time during tear-off, then asked to survive another cycle under a shingle warranty that assumes new materials throughout. It is not that reused flashing always fails immediately. It is that it fails earlier and less predictably than new metal would have, and when it does, the leak shows up under shingles that are otherwise only a season or two old, which is a frustrating and avoidable callback for everyone involved.
Reusing flashing also saves a contractor real money on a bid: no new metal to buy, no extra labor to fabricate and set it, and a faster tear-off since the crew is not pulling flashing along with the shingles. That is exactly why it is worth asking about directly when you compare quotes, and why a quote that is meaningfully cheaper than the others is worth a second look at what is and is not being replaced.
It rarely shows up as a single dramatic failure. More often it is a slow drip that stains an interior ceiling months after the crew has packed up and moved to the next street, by which point the homeowner has forgotten which detail the reroof touched and which one it left alone. Tracing a leak like that back to a reused piece of flashing usually requires opening the roof again, which is a second labor bill on top of the first one, and it is the exact scenario a clear scope of work at signing is meant to prevent.
A reused flashing detail can look identical to a new one under a finished shingle field. The only way to know which you got is to ask before tear-off, not after the first leak.
Our pipe boots and penetrations guide covers the same reuse question for vent flashing specifically, since rubber boots are the shortest-lived flashing component on any roof and the least defensible thing to carry over onto a new one. And our nine parts of a roof system guide places flashing in context alongside decking, underlayment, ventilation, and the rest of what a full replacement should include.
07 / THE CHECKLISTWhat to ask any bidder before you sign
You do not need to know sheet metal trades to hold a quote accountable. You need six questions and a willingness to ask them out loud.
- Is step flashing at every sidewall being replaced, piece by piece, or reused from the old roof?
- Is counter-flashing at the chimney being reset into a fresh mortar reglet, or caulked over the existing joint?
- Is valley metal full length and new, or spliced with sections of the old material?
- Is apron flashing at every wall junction being replaced in full?
- Is kick-out flashing being added anywhere a sidewall run ends above a lower roof or gutter, even if the old roof never had one?
- Are all vent boots and pipe collars new, given how short their service life already is?
A contractor who answers all six without hesitation has almost certainly already priced the job correctly. A quote that goes quiet on flashing entirely, or one that comes back thousands cheaper than the others without explanation, is worth a follow-up call before you sign anything. This is exactly the kind of detail a written scope should spell out, and it is exactly what our estimators walk through on every free inspection: new flashing at every location this guide describes, priced into the number from the start rather than discovered as a change order mid-job.
Get the answers in writing, even if only as a line in the estimate or a photo sent after tear-off showing the old flashing in a dumpster rather than back under new shingles. Reputable crews are usually glad to document it, since it is proof of the work they are already planning to do. A bidder who resists writing it down at all is telling you something worth hearing before, not after, the shingles go on.
For the full picture of what a replacement includes beyond flashing, our roof replacement page covers the whole job, and the replacement cost guide breaks down the seven factors that set your price. If you are further out and just comparing systems, the metal versus asphalt comparison covers how flashing details change between the two.
- A full roof replacement includes new step flashing, counter-flashing, valley metal, apron flashing, kick-out flashing, and vent boots as standard, not as upsells.
- Reusing old flashing under new shingles is the single most common corner cut on a reroof, and it is the leading cause of leaks in an otherwise brand-new roof.
- Counter-flashing belongs in a freshly cut mortar reglet, never caulked over the old joint.
- Valley metal should run full length with no splices, since it carries the most concentrated water on the roof.
- Kick-out flashing should be added anywhere the design calls for one, even if the original roof never had it, because tear-off is the cheapest moment to add it.
Questions we hear most
New flashing at every sidewall, chimney, valley, and edge is standard on a proper replacement and should already be part of the base price, not a separate upgrade. If a quote does not mention flashing at all, ask directly whether the crew plans to reuse the existing metal.
It is difficult to confirm after the fact, since finished flashing looks similar whether it is new or reused once shingles are trimmed around it. The reliable way is to ask before tear-off starts and, where possible, to watch the tear-off and flashing installation yourself.
Flashing labor and material are built into our published replacement ranges of $9,000 to $18,000 for asphalt systems, with most Macomb County homes landing $12,000 to $16,000. It is not priced as a separate line item because it is part of what a complete replacement means, and a free inspection gives you the exact scope for your roof.
- National Roofing Contractors Association, technical guidance for steep-slope roof systems. nrca.net
- Michigan Residential Code, 2015 edition, adopted with Michigan amendments by the LARA Bureau of Construction Codes, in effect since February 8, 2016. michigan.gov/lara: code books
- Manufacturer technical and warranty literature for the major asphalt shingle lines: GAF (gaf.com), Owens Corning (owenscorning.com), and CertainTeed (certainteed.com).