
JUMP TO A SECTION
A bathroom exhaust fan has one job: pull the moisture generated by a hot shower out of the house entirely before it condenses somewhere it can do damage. Plenty of fans move plenty of air and still fail at that job, because the ductwork between the fan housing and the outside world was assembled with shortcuts. This guide is about the hardware, not the moisture chemistry. If you want the fuller explanation of what happens when a fan vents into an open attic instead of outside, our bathroom fan venting into the attic guide covers that failure mode in depth. Here, we stay on the roof-side assembly itself: what a correct installation looks like, part by part, and which trade is responsible for which piece of it.
01 / THE SHORT ANSWERFour parts, in the right order
A correctly vented bathroom fan has four components, and all four have to be right at once. Insulated duct, not bare sheet metal or uninsulated flex. The shortest possible run to the roof, with as few elbows as the framing allows. A backdraft damper that closes when the fan is off. And a dedicated roof cap built for exhaust venting, never a tie-in to a ridge vent and never a termination inside the soffit. Skip any one of these and the assembly can still look finished from the attic floor while quietly failing at its actual job.
- Insulated duct. Rigid or semi-rigid metal duct wrapped in insulation, run in the warm side of the attic wherever possible.
- A short, straight run. The fewest elbows the layout allows, since every turn adds resistance the fan has to push against.
- A backdraft damper. A hinged flap at the termination or fan housing that closes when the fan shuts off.
- A dedicated roof cap. A low-profile exhaust vent built for this purpose, flashed and shingled into the roof like any other penetration.
Get all four right and the fan does exactly what the label promises: it pulls bathroom humidity out of the house and discharges it above the roof line, where it cannot condense in the attic, run back down a duct, or feed the intake side of your attic's own ventilation system.
02 / THE HARDWAREThe assembly, part by part
Duct: insulated, not bare
Warm, moisture-laden bathroom air traveling through an uninsulated duct in a cold Michigan attic will condense on the inside wall of that duct well before it reaches the roof cap, the same way a cold glass sweats on a humid day. That condensation runs back down the duct toward the fan housing, drips through the ceiling, and gets blamed on a roof leak that is not actually there. Insulated rigid or semi-rigid duct keeps the duct wall closer to the temperature of the air moving through it, which is the whole point. Cheap, uninsulated flexible duct is the single most common shortcut we find in an attic, usually because it was the fastest thing to install, not the correct one.
The run: short and straight, minimal elbows
A bathroom fan's rated airflow, its CFM number on the box, is measured at zero static pressure in a lab, not at the end of thirty feet of crushed flex duct with four ninety-degree turns. Every elbow adds resistance roughly equivalent to several extra feet of straight duct, and a duct that is kinked, compressed, or sagging between joists adds more resistance than any elbow. The fix is architectural, not electrical: route the shortest practical path from the fan housing to the roof, use sweeping turns instead of sharp elbows where a turn is unavoidable, and keep the duct fully supported so it cannot sag into a low spot where condensation can pool.
Backdraft damper
A backdraft damper is a simple hinged or spring-loaded flap that opens when the fan pushes air through it and closes on its own when the fan shuts off. Without one, the duct is an open path straight from the outside world into your bathroom ceiling: cold outside air can settle down the duct in winter, and the same open path is an easy entry point for insects and small pests. Most quality roof caps and inline duct connectors include a damper built in; the failure we see most often is a damper that has been removed, painted shut, or was never installed in the first place.
The roof cap: dedicated, and flashed like a real penetration
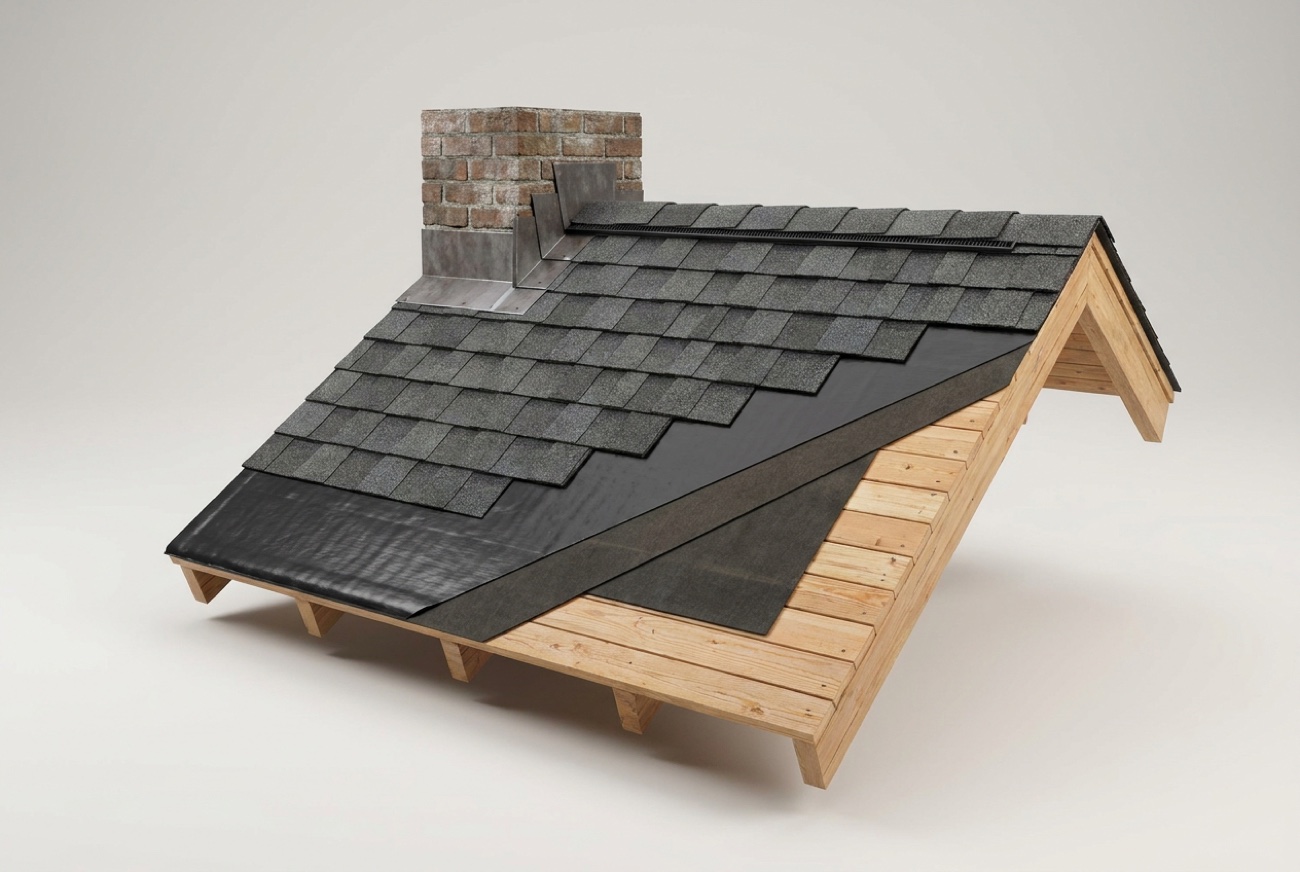
The termination point is where the other three parts either pay off or do not matter. A dedicated bathroom exhaust roof cap is a small, low-profile vent hood with a built-in damper, sized for the duct diameter, that discharges air straight up and out above the roof surface. It gets cut into the deck, seated, and flashed using the same shingle-course integration as any other roof penetration: base flashing under the shingles on the uphill side, over them on the downhill side, sealed and nailed correctly so it sheds water instead of collecting it. Get the flashing wrong and you have traded a moisture problem for a leak, which is exactly why this part of the job belongs to a roofer, not a fan installer working alone.
03 / THE SHORTCUTSWhy the two common shortcuts fail
A bathroom fan should terminate at a dedicated roof cap that discharges air fully outside the building envelope. It should never tie into a ridge vent and never terminate inside a soffit. Both shortcuts route moist air back toward the attic ventilation system instead of away from it.
Tying into the ridge vent
A ridge vent is a passive exhaust path for the attic's own ventilation loop, sized and positioned to work with the soffit intakes below it, not to carry pressurized, humid bathroom air. Tie a bath fan duct into the ridge vent channel and every shower sends a burst of warm, saturated air directly into the space the ridge vent is supposed to be keeping dry. Over a Michigan winter, that moisture is exactly the kind of input that grows frost on the underside of the deck and feeds ice dams at the eaves, the same mechanism our attic air leaks and ice dams guide walks through for other bypasses. It also runs against the intent of most fan manufacturer installation instructions, which call for a dedicated exterior termination, not a shared attic ventilation path.
Terminating in the soffit
Discharging into the soffit looks like an easy shortcut, since the soffit is already open to the outside. The problem is what is right next to it: the soffit vents are the intake side of the attic's ventilation system. Bathroom exhaust aimed at or near a soffit vent can get pulled straight back into the attic on the next breath of wind, effectively short-circuiting the fan. It defeats the purpose of venting outside in the first place while looking, from the ground, exactly like a properly finished job.
| TERMINATION POINT | WHAT ACTUALLY HAPPENS | VERDICT |
|---|---|---|
| Dedicated roof cap with damper | Moist air discharges fully above the roof, away from the soffits | CORRECT |
| Tied into the ridge vent | Humid air enters the attic's own exhaust channel near the deck | AVOID |
| Terminated in the soffit | Humid air can be pulled straight back in through the nearby intake vents | AVOID |
| No outside termination at all | All moisture stays inside the attic | AVOID, WORST CASE |
That last row is worth naming directly: a duct that simply ends in the open attic, with no roof or gable termination whatsoever, is its own failure mode and a common one in older homes. If your fan seems to run fine but you are seeing attic frost, staining, or a musty smell, it is worth confirming the duct actually reaches outside air at all before assuming the hardware in between is the problem.
04 / THE TRADESRoofer, electrician: who does what
A bathroom fan vent job touches two trades, and a homeowner coordinating both for the first time is often surprised the work does not fall to one contractor start to finish. Here is the honest split.
The roofer's side: the penetration and the cap
Cutting the roof deck opening (if one does not already exist), setting the roof cap, and flashing it into the shingle courses is roofing work, plain and simple. It is the same skill as flashing a plumbing vent boot or a chimney: get the base flashing under the upper courses and over the lower ones, seal it correctly, and the penetration sheds water for the life of the roof. Get it wrong and the fan vent becomes a leak point, which is why we treat a bathroom fan roof cap as a roof repair, not an accessory swap. This is the piece of the job Macomb Roofing Pros handles directly, along with confirming the duct run terminates at the cap correctly rather than short of it.
The electrician or fan installer's side: everything below the deck
Sizing and mounting the fan housing, running and insulating the duct through the attic, installing or confirming the backdraft damper, and wiring the switch, timer, or humidity sensor is electrical and mechanical work. That side of the job is typically handled by an electrician or an HVAC-licensed installer, not a roofing crew, and it should be scheduled to connect cleanly to whatever termination point the roofer is cutting.
The two sides need to agree on one thing before either starts: duct diameter and termination location. A roofer cutting a cap opening sized for a 4 inch duct when the fan installer is running 6 inch duct is the kind of coordination gap that turns a half-day job into a return trip. If you are having a fan installed or corrected, ask both contractors to confirm duct size and cap location with each other before either cuts anything.
Reroofing is also the easiest and cheapest time to fix a bad vent path, since the shingles are already off and the deck is already open. If your reroof is scheduled and you know or suspect your bathroom fan currently ties into the ridge vent, a soffit, or nothing at all, say so before tear-off starts so the correction can be priced into the same job instead of requiring a separate visit later.
05 / THE COSTWhat the roof-side work costs
is the general Macomb County repair range that a bathroom fan roof cap install or correction falls within, the same range that covers pipe boot swaps, flashing rebuilds, and similar targeted penetration work. Larger or complex repairs, such as decking replacement discovered at tear-off, can run higher. A free inspection gives you the actual number for your roof.
Where a given job lands in that range depends on what we find once the old cap or termination is opened up. A straightforward swap of an existing, correctly located roof cap sits toward the lower end. A correction that requires relocating the penetration, rebuilding surrounding flashing, or replacing decking that condensation has already damaged sits higher. This is roof-side pricing only; the duct, damper, and fan housing work is priced separately by the electrician or HVAC installer handling that side of the job.
If the roof is due for other work anyway, it is worth pricing the correction alongside a broader repair or a full roof repair visit rather than as a standalone trip. Our cost calculator uses the same published ranges as this page if you want a ballpark before anyone visits.
06 / THE FIXGetting it done right
A free inspection checks the whole path, not just the visible cap on the roof. From the roof side, we confirm the cap is a dedicated exhaust unit with a working damper, correctly flashed and not tied into a ridge vent. From the attic side where access allows, we look at duct material, insulation, elbow count, and whether the run actually reaches the cap or simply stops short of it. If the roof-side flashing or termination needs correcting, you get a written price for that piece before anything is cut.
The same logic that applies to bathroom fans applies to other roof penetrations homeowners often assume are simpler than they are. Our dryer vent through the roof guide covers the same short-run, minimal-elbow, dedicated-termination principles for lint instead of moisture, and our plumbing vent boot leaks guide covers the flashing detail that fails first on the plumbing side of the roof. All three penetrations live or die on the same fundamentals: a real outside termination, a short clean run, and flashing done correctly the first time.
A bathroom fan that runs loud and long is not proof it is working. The only proof is where the air actually ends up.
- Four parts make a correct installation: insulated duct, a short run with minimal elbows, a backdraft damper, and a dedicated roof cap.
- Never tie a bathroom fan into a ridge vent or terminate it in a soffit; both route moisture back toward the attic instead of away from it.
- Roofers cut and flash the roof cap; electricians or HVAC installers run the duct, damper, and wiring; the two sides need to agree on duct size and location first.
- The roof-side portion runs $350 to $3,200, the same range as other targeted roof repairs, and larger or complex corrections can run higher.
- A free, no-obligation inspection checks the roof cap, flashing, and duct path together, and our published price sheet is on the <a href="/#pricing">honest pricing page</a>.
Questions we hear most
No. A ridge vent and soffit vents are the passive intake and exhaust path for the attic's own ventilation system, not a discharge point for pressurized, humid bathroom air. Tying a fan into either one routes moisture back toward the attic instead of away from it, and it works against most fan manufacturers' installation instructions, which call for a dedicated exterior termination.
Duct diameter should match the fan's rated CFM and the manufacturer's specifications, commonly 4 inch round for typical bathroom fans, sized up for higher-CFM units. Undersized duct, excess elbows, or crushed flex duct all reduce real-world airflow well below the number on the box, so the correct size is whatever the fan manufacturer's installation instructions specify for that model.
Both, on different parts of the job. A roofer cuts the roof opening if needed, sets the dedicated exhaust cap, and flashes it into the shingle courses. An electrician or HVAC-licensed installer mounts the fan, runs and insulates the duct, installs the backdraft damper, and wires the switch or sensor. The two should confirm duct size and termination location with each other before either starts cutting.
- Michigan Residential Code, 2015 edition, adopted with Michigan amendments by the LARA Bureau of Construction Codes, in effect since February 8, 2016. michigan.gov/lara: code books
- Manufacturer technical and warranty literature for the major asphalt shingle lines: GAF (gaf.com), Owens Corning (owenscorning.com), and CertainTeed (certainteed.com).